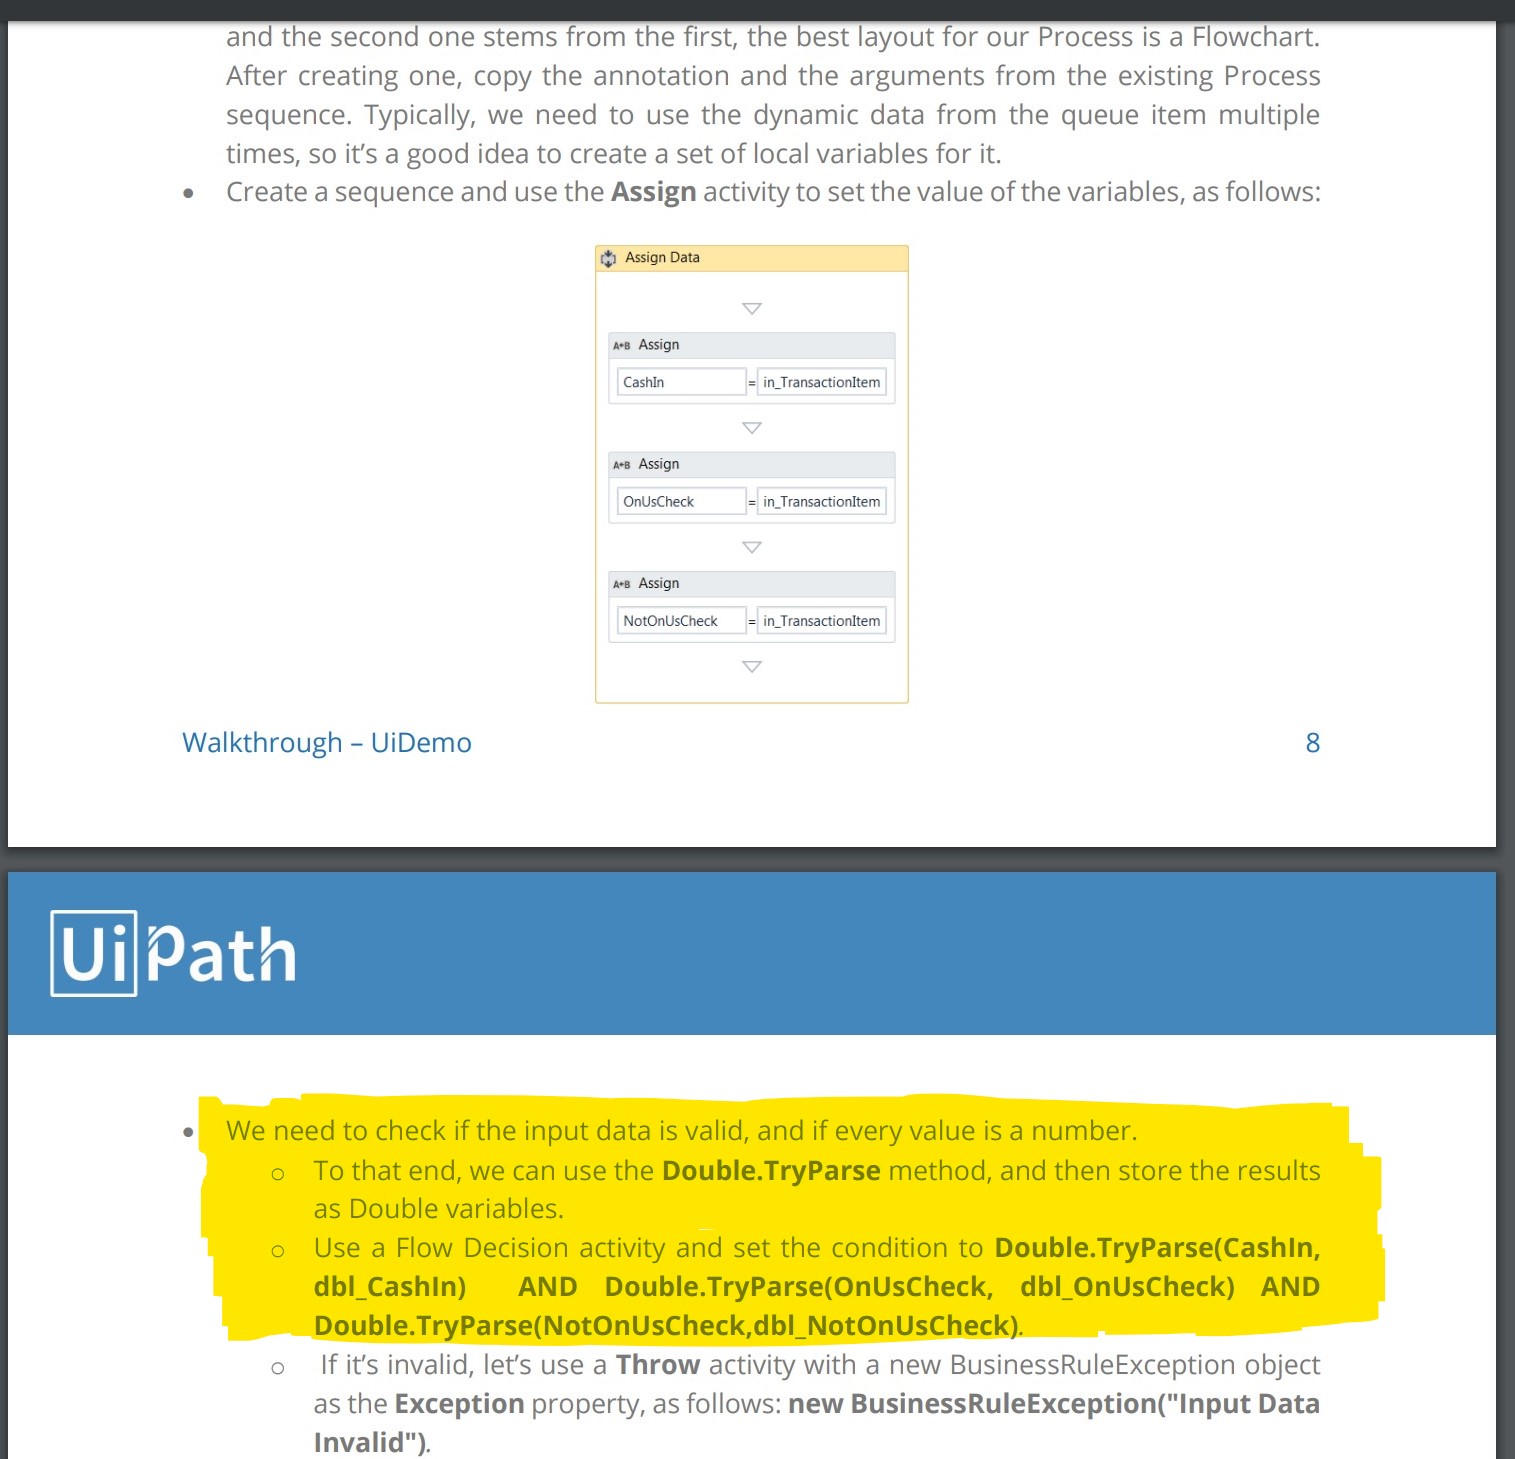
There is absolutely no explanation as to where this double parse technique comes from, how it’s used, and how the variables dbl_cashin, dbl_OnUsCheck, and dbl_NotOnUsCheck are to be created. All it says is to use the three assign activities to create cashin, OnUsCheck, and NotOnUsCheck. Why does UiPath always seem to leave key information out that has no explanation anywhere within the videos or instructions? I understand having us apply principles that we’ve learned from the videos in our projects, but I often find myself aimlessly looking at forums for things that should be communicated effectively to us in any reasonable learning environment. Anyway, rant aside, can anyone help me?
You use that with an Assign activity. You’ll be assigning a new variable to Double.TryParse(CashIn, dbl_CashIn). The variable you’ll be setting on the left-hand side of the assign statement is dbl_CashIn.
Set your variable to Double type instead of GenericValue. Always remember to set your datatypes to something other than Generic, as this will likely be checked for in the certification exam.
My mistake. Double.TryParse returns True if the process was successful, or False otherwise. So what you need is a boolean variable to assign on the left, and not a double. You’ll need something new (not dbl_CashIn) to store the boolean.
Keep in mind that dbl_CashIn will still be in the parameter on the right.