One Click Classification
We’re excited to announce the launch of the One Click Classification feature within Document Understanding. This is the first of a series of features we’re planning to launch aimed at improving the user experience of training document classification and extraction models.
The objective of the feature is to allow users to easily train document classifiers straight from the Document Understanding interface. It allows bypassing the need for manually creating Datasets, Pipelines, and ML Skills in AI Center with the help of a new user experience within Document Understanding.
User guide
Navigate to the Document Understanding interface and create a project.

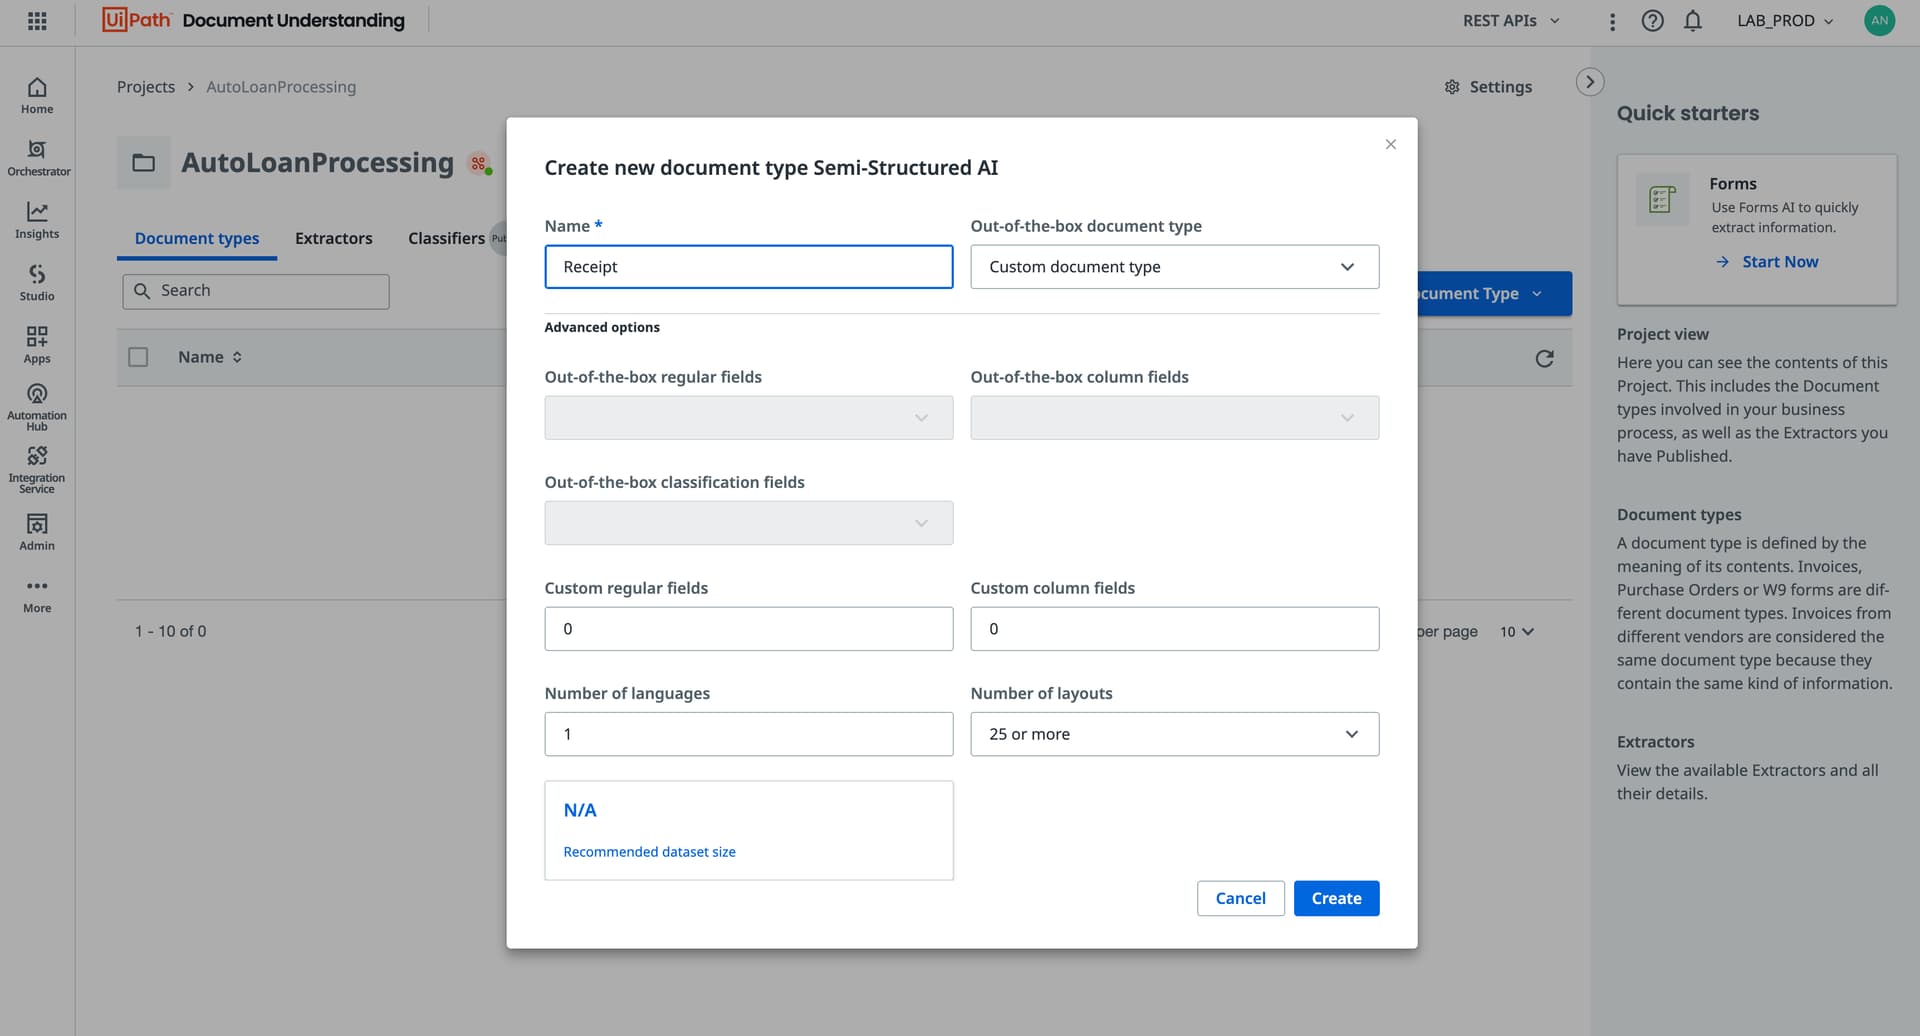
Within a Project, add your Document Types using the “New Document Type” button. You can add your documents in either a Forms AI or a Semi-Structured AI session. However, if you have more than 20 documents add them to a Semi-Structured AI session.

Clicking on the Semi-Structured AI button opens the model configuration wizard. This step is used to configure your extraction experience. If you’re only interested in classification, these settings are not relevant. You can choose any option. If you’re also doing extraction, then configure the wizard according to your extraction problem.
Once Document Manager opens, use the Import wizard to import your documents.

When all your documents have been uploaded in their respective Document Type sessions, navigate to the Document Types tab and click on the Classify button.
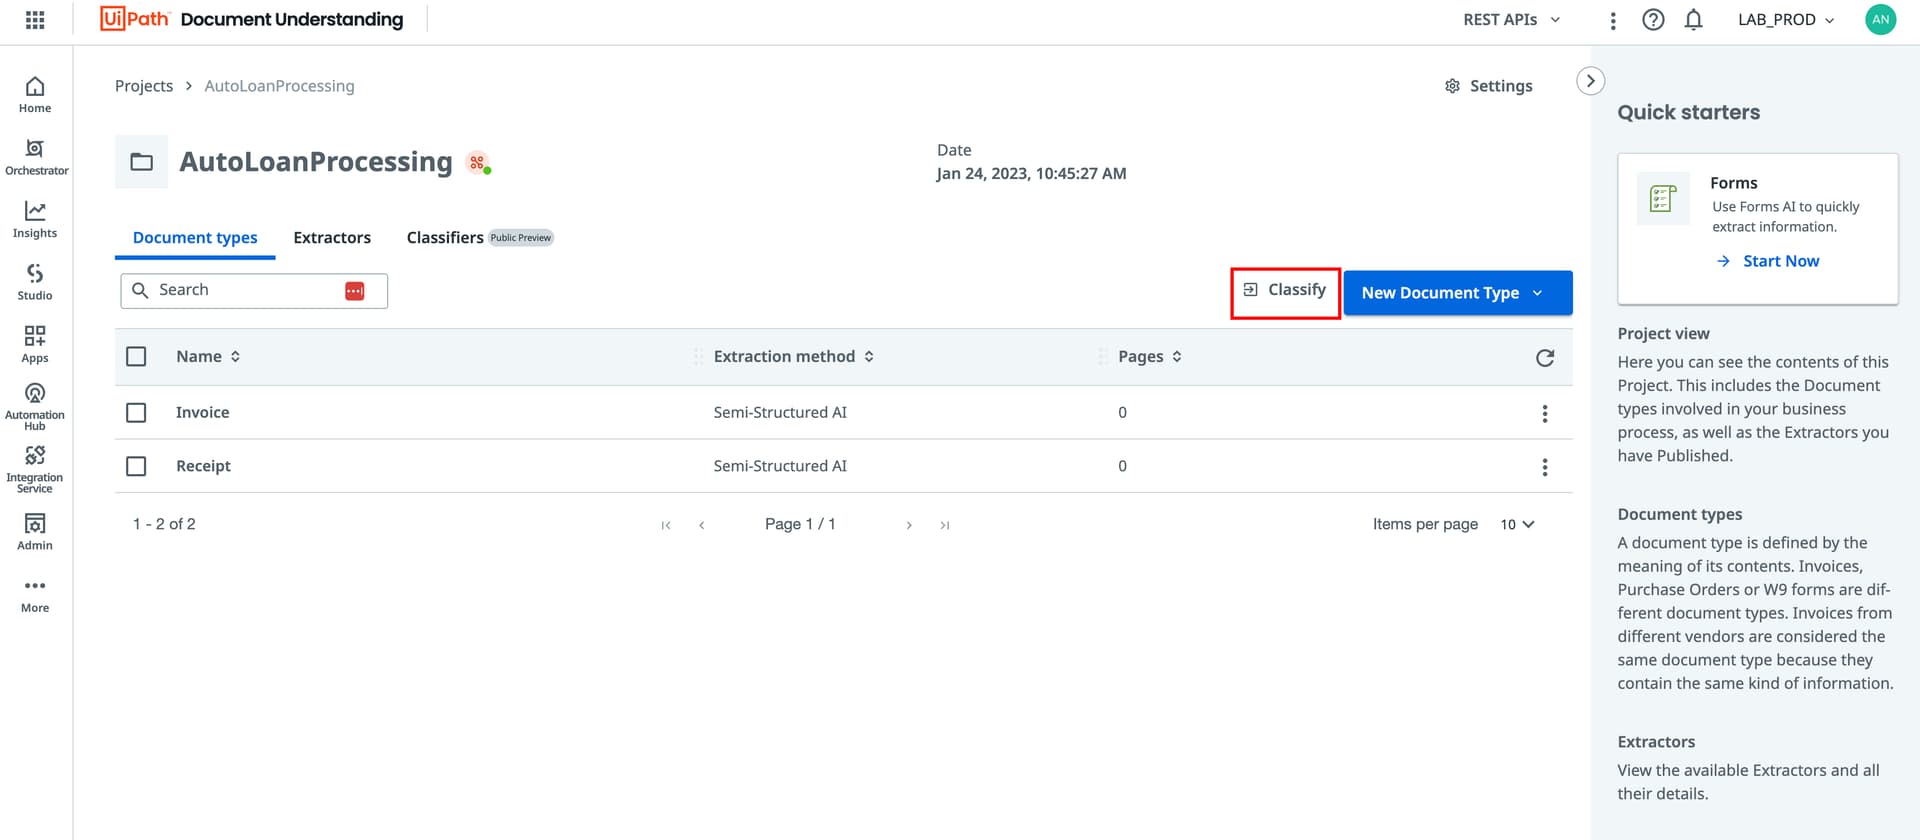
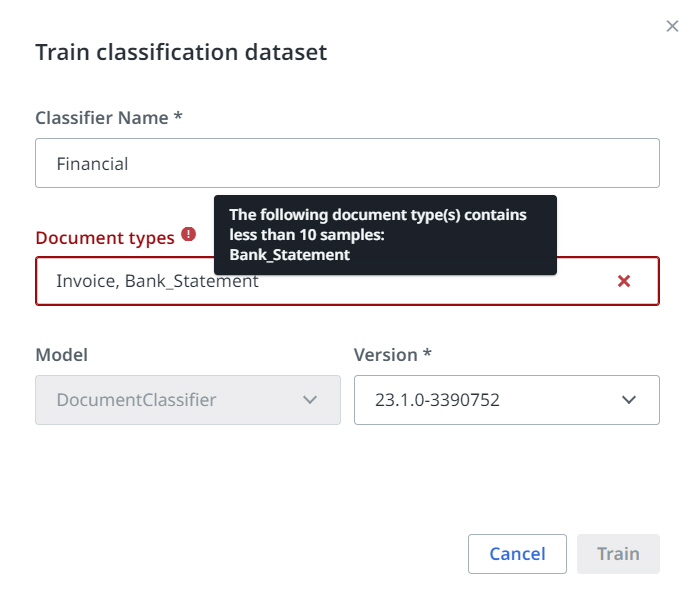
The Classify button opens a dropdown with two options: Automated Training and Manual Training. Before using any of these options, make sure you have at least two Document Understanding sessions created with at least ten samples each. Not complying results in an error as the one below:
Automated Training
Use Automated Training to train a classifier straight in Document Understanding. Once you choose this option, you have to add a Classifier Name, select the preferred Document Types, and select the version of the DocumentClassifier model. When finished, click on the Train button.

This functionality automatically creates a new Dataset in AI Center with the name previously given by you in the Classifier Name field of the Train Classification dataset popup window. Then, it starts a training pipeline using the exported dataset and chosen classification model. Once the training pipeline has finished, the model is deployed and exposed as an ML Skill.
Details
You can see more details about the created Automated Training action by selecting the Classifiers tab from your project page, clicking on the actions menu, and selecting the Details option.

Here’s a list with all the information provided by the Details option:
- Status - Provides the status of the classification action.
- Document types - Provides the list of Document types used for the action.
- Version - Provides the used version of the DocumentClassifier model.
- Dataset size - Specifies the size of the dataset.
- Dataset link - Provides the public endpoint URL of the created (public) dataset.
- Docs Extracted - Specifies the number of extracted documents.
- Pipeline details - Provides the URL of the pipeline created for the dataset.
- ML Skill details - Provides the URL of the ML Skill created for the dataset. You can copy it and use it in your workflow.
- Score details - Specifies the accuracy score of the dataset.
- Score - Provides an accuracy score percentage for the dataset.
- View/Hide Logs - Provides a list with all the logs of the created dataset. You can copy it and use it when needed.
Note
Score details** and Score percentage options are available for datasets running with DocumentClassifier version 23.1 or higher.
Manual Training
Use the Manual Training option to export a classification dataset to AI Center. When you export has finished, navigate to AI Center and train your document classification model manually. Once you choose this option, you have to add a Dataset Name and select the preferred Document Types. When finished, click on the Export button.
Details
You can see more details about the created Manual Training action by selecting the Classifiers tab from your project page, clicking on the actions menu, and selecting the Details option.

Here’s a list with all the information provided by the Details option:
- Status - Provides the status of the classification action.
- Document types - Provides the list of Document types used for the action.
- Dataset size - Specifies the size of the dataset, with a total number of documents and a total number of pages.
- Dataset link - Provides the public endpoint URL of the created (public) dataset.
- View/Hide Logs - Provides a list with all the logs of the created dataset. You can copy it and use it when needed.
Classifiers Tab
The Classifiers tab showcases all the classifiers that have been trained or are in the process of training. You can check the status of all your classification actions using the information shown in the “Status” column.

Overview
Once the Classifiers tab is selected, you can see four different columns, each presenting information about the created classification actions. You can sort them individually in ascending or descending alphabetical order, or leave them in their default state, organized by creation date, with the latest on top:
- Name - Displays the name of the classification actions.
- Type - Displays the type of classification action (export or train).
- Creation date - Displays the creation date.
- Status - Displays the status of the action. There are multiple available statuses for each action. Check the table below for more details.
- Refresh - Refreshes the statuses for all actions, displaying the most recent ones.
Actions Menu
The action menu is available on the right side and has the following options available, once opened:
- Copy URL - Allows you to copy the URL of the public endpoint created with the Automated Training action.
- Details - Provides information about the created action.
- Delete - Deletes the created action from both Document Understanding and AI Center.
- Stop ML Skill - Stops the ML Skill for the Automated Training action


