Tutorial: Testing the new triggered attended automation capabilities with Studio 23.2
In this tutorial we will guide you to build your 1st automation using the new triggered attended automations capabilities.
You can find the project we will be building here: Attended Triggers Sample Project.zip (214.1 KB)
1. Install and configure Studio
Make sure you have UiPath Studio 23.2 or newer. If not, download and install it from here
2. Create a new project
2.1. Open Studio and create a new Windows project

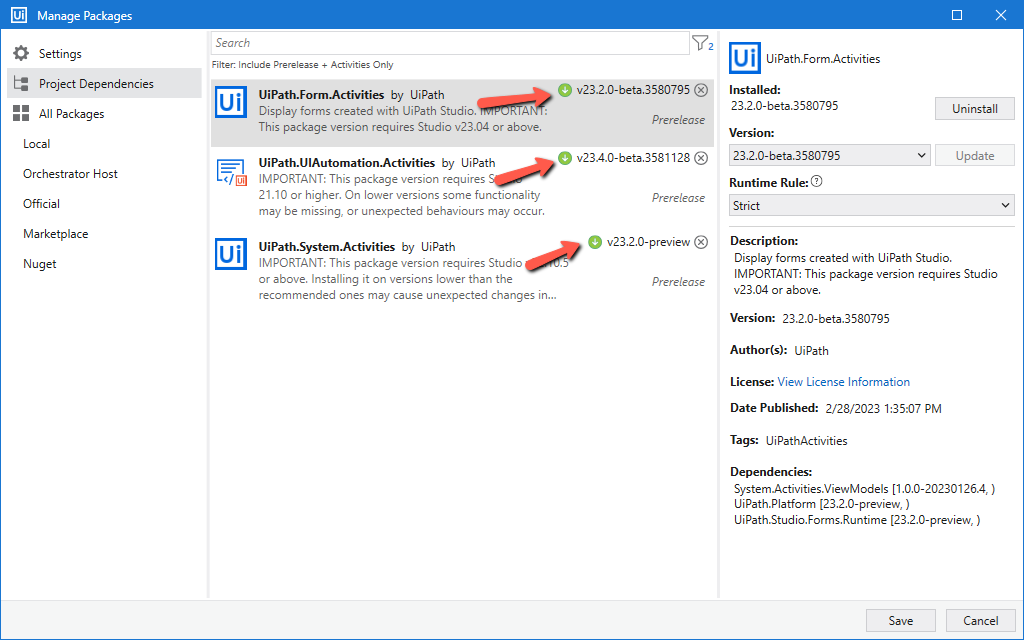
2.2. Update the project dependencies:
Open “Manage Packages” and make sure that “Include Prerelease“ is checked:

Add the “UiPath.Forms.Activities” package and make sure you have all packages updated to their last version:
3. Create a new form
Create a new form (ex: form 1)

Add a text field to the form:

4. Add a couple form triggers
4.1. Next to the form file in your project add a “on text change.xaml” sequence
4.2. In this file, add the “Form Event Trigger” activity and configure it to trigger when the form’s text field changes value
4.3. Add a Write Line activity that outputs the TriggerEventArgs.text value (in this case - the value of the text field)

4.4. Add some more triggers in a similar fashion (one separate xaml per trigger). Examples:
- on form closed.xaml
- on submit clicked.xaml
NOTE: Triggers are regular XAML files that start with such a trigger activity, that will be automatically invoked (in parallel with the current execution) when the triggering event fires
5. Show the form
5.1. In your Main.xaml file, add a “Show Form” activity and select your form
5.2. Next, add the “Run Local Triggers” activity

NOTE: The “Show Form” activity will be displayed async (i.e. the workflow execution will continue). This can be used to display multiple forms in the same time.
NOTE: The “Run Local Triggers” activity needs to be added to process all the triggers that are part of these type of automations. It is a blocking activity that will process all triggers (form and/or UIA) defined in your automation
6. Test your automation
6.1. Run the automation
6.2. Once the form is displayed, type something in the text field and see how what you are typing is displayed in Studio’s Output console
7. Add a notepad UI Automation trigger
7.1. Open a notepad instance
7.2. Create a new root folder - “notepad”
7.3. In that folder, add a “on text changed.xaml” file
7.4. Add an “Application Event Trigger” activity as the 1st activity in this file
- Indicate notepad’s text area as the target element
- Update the Window’s selector to not include notepad’s window title
- Set the Event Type to “Text changed”
7.5. Add a “Set Form Value“ activity
- Choose your form
- Update the Arguments collection to change the textField property of the form

8. Test your automation (again)
8.1. Run the automation
8.2. Type something in Notepad. See how the form’s textField changes
8.3. See how the changed value is also output in Studio’s Output console
8.4. Open a second notepad instance and repeat the above
8.5. See how we monitor both Notepads in the same time
Enjoy automating!


